Now that we’ve covered the ingredients, let’s break down the steps for making an old-fashioned chocolate pie. From preparing the filling to baking the meringue, each stage is crucial to creating the perfect pie.
Step 1: Prepare the Pie Crust
If you’re using a pre-baked pie crust, simply place it on a baking sheet to catch any drips. If you’re making your own pie crust, roll it out, line your pie dish, and bake it according to the instructions. Ensure the crust is fully cooled before adding the filling.
Step 2: Make the Chocolate Custard Filling
- In a medium saucepan, melt the butter over medium heat.
- Add the sugar, flour, and cocoa powder. Whisk everything together to create a smooth, thick paste.
- Slowly pour in the milk, whisking constantly to avoid lumps. Continue whisking as the mixture heats up, and it should begin to thicken after a few minutes.
- In a separate bowl, lightly beat the egg yolks.
- Gradually add about ½ cup of the hot chocolate mixture to the egg yolks, whisking constantly to temper the eggs.
- Slowly pour the egg yolk mixture back into the saucepan, stirring constantly. Continue cooking the custard over low heat until it thickens to a pudding-like consistency (about 5-7 minutes). Do not let the mixture come to a boil, as this can cause the eggs to curdle.
- Remove the saucepan from the heat and stir in the vanilla extract for added flavor.
- Pour the finished custard into the pre-baked pie crust, smoothing it into an even layer. Allow the filling to cool slightly while you prepare the meringue.
Step 3: Prepare the Meringue
- In a clean, dry bowl, beat the egg whites with an electric mixer until soft peaks form.
- Add the cream of tartar and continue beating until stiff peaks form. This means the egg whites should stand up straight when the beaters are lifted.
- Gradually add the sugar, about one tablespoon at a time, beating until the meringue is glossy and holds firm peaks.
- Spoon the meringue over the chocolate custard, spreading it to cover the entire surface. Be sure to spread the meringue all the way to the edges of the crust to prevent shrinkage during baking.
Step 4: Bake the Pie
- Preheat your oven to 350°F (175°C).
- Place the pie in the oven and bake for 10-15 minutes, or until the meringue is golden brown.
- Once the meringue is browned, remove the pie from the oven and let it cool completely on a wire rack. The filling will continue to set as the pie cools.
Step 5: Serve and Enjoy
Once the pie has cooled to room temperature, slice it into wedges and serve. For extra indulgence, you can add a dollop of whipped cream or a scoop of vanilla ice cream on top. This pie is sure to be a crowd-pleaser at any gathering!
Tips and Tricks for Success
- For a smoother filling: Be sure to whisk the cocoa powder and flour well to prevent clumps from forming. Also, temper the egg yolks slowly to avoid cooking them too quickly and scrambling them.
- Make the meringue right: Ensure that your mixing bowl and beaters are completely clean and dry before beating the egg whites. Even a small amount of oil or grease can prevent the egg whites from whipping properly.
- Prevent meringue shrinkage: Spread the meringue all the way to the edges of the pie crust to help seal the filling and prevent the meringue from shrinking during baking.
- Chill the pie: Allow the pie to cool completely before slicing. Chilling the pie for a few hours can help the filling firm up and make slicing easier.
Conclusion
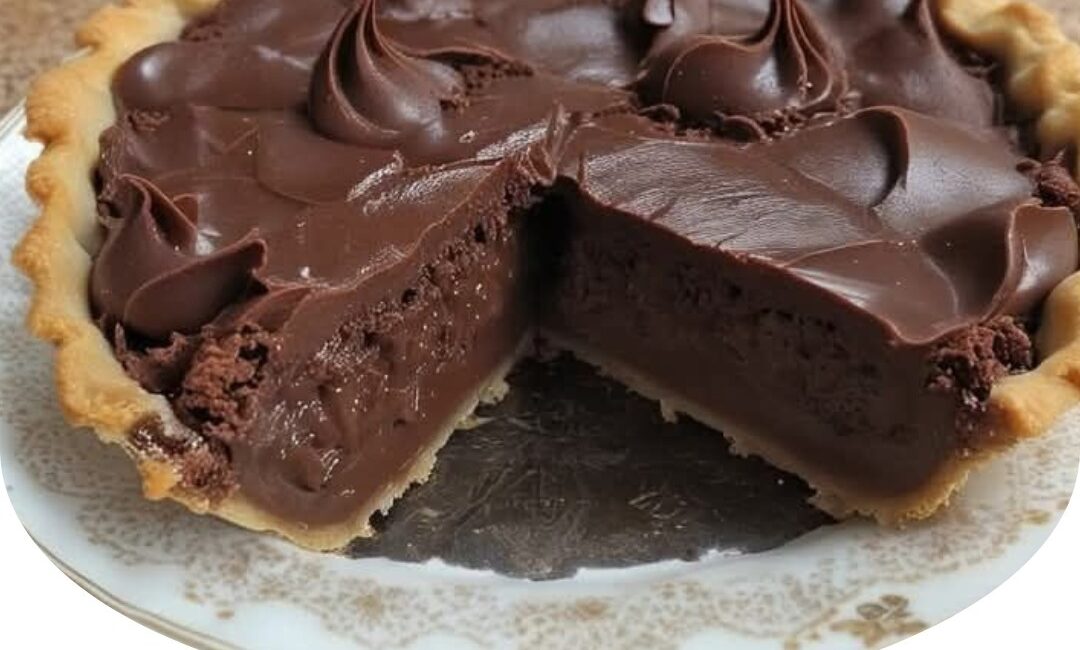
The old-fashioned chocolate pie is a delightful dessert that has stood the test of time. Its rich, chocolatey filling and light, fluffy meringue topping create the perfect combination of flavors and textures. Whether you’re an experienced baker or a beginner, this classic pie is sure to impress everyone at your table.
So, next time you’re in the mood for a comforting dessert, why not try making an old-fashioned chocolate pie? With its simple ingredients, easy-to-follow steps, and irresistible taste, it’s a treat you’ll be making again and again!