Cover the bowl containing the dough with plastic wrap or a damp cloth. Let it rest in a warm place for about 1-2 hours. During this time, the yeast will work, and the dough will rise, doubling in size. This longer rise time gives the bread its light and airy texture without the need for kneading.
Step 5: Shape the Dough
After the dough has risen, gently deflate it with your hands or a spatula. Transfer it to a lightly floured surface and shape it into a ball or oval, depending on the shape you prefer. You can also place it in a bread pan if you want a more uniform loaf. There’s no need to work the dough excessively. The goal is simply to form a compact loaf.
Step 6: Second Rise
Place the shaped dough onto a baking sheet lined with parchment paper. Cover it again with a clean cloth and let it rise for another 30 minutes. This second rise allows the dough to relax and rise again before baking.
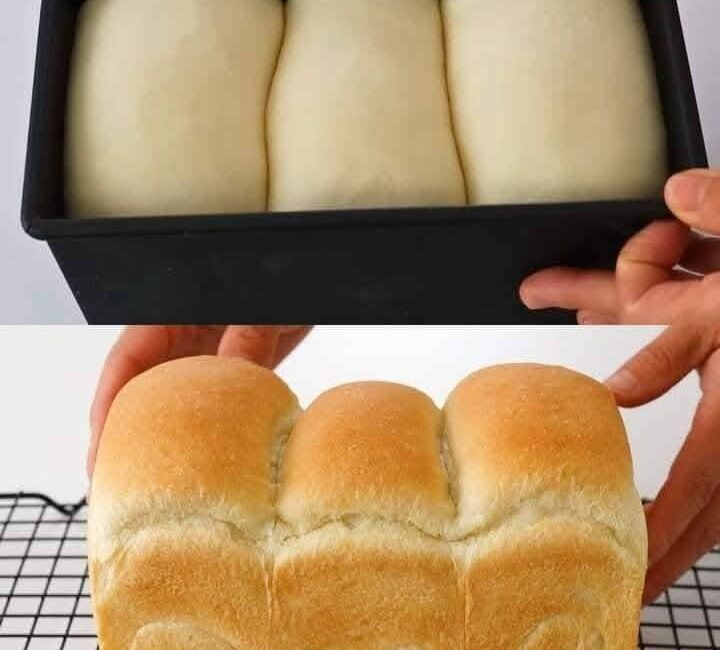
Step 7: Bake the Bread
Preheat your oven to 200°C (390°F) while the dough is rising. Once the dough has risen sufficiently, place it in the preheated oven. Bake for about 25-30 minutes, or until the bread is golden and a hollow sound is produced when you tap the bottom of the bread. If you have a cooking thermometer, the internal temperature of the bread should be around 90°C (190°F) when it’s done.
Step 8: Let it Cool
Once the bread is done, remove it from the oven and let it cool on a wire rack. It’s important not to cut the bread immediately after baking, as it continues to cook slightly even after being removed from the oven. Let it cool for about 15-20 minutes before slicing it for neat, clean cuts and better texture.
Benefits of Making Your Own Bread at Home
Making your own bread offers many benefits, both in terms of cost and quality. Here are a few reasons why you should consider baking your own bread at home:
- Cost Savings: Buying bread at the store, especially quality bread, can be expensive. Making your own bread at home is much more economical, especially with a recipe as simple as this one.
- Customization of Flavors: When you make your own bread, you have full control over the ingredients and can add flavors of your choice. For example, you can add seeds, herbs, or spices to customize the bread’s taste.
- Satisfaction: There’s a great sense of satisfaction in making your own bread. The process is simple and enjoyable, and there’s nothing quite like enjoying fresh, homemade bread right out of the oven.
- Health: By making your own bread, you have complete control over the ingredients. You can avoid preservatives and additives that are often present in store-bought bread. It’s also a great option if you follow specific dietary restrictions.
Conclusion
This no-knead bread recipe is simple, quick, and affordable. It provides a fantastic alternative to buying bread at the store while allowing you to enjoy fresh, homemade bread every day. This bread is light, soft, and airy, making it perfect for accompanying any meal or simply enjoying with a bit of jam. Don’t wait any longer to try this recipe and discover the joy of baking your own bread at home with no hassle and no complicated steps!