Step 5: Thin the Seedlings
Once the seedlings have grown large enough to handle, thin them out so that the strongest plants remain. Celery seedlings can grow close together, but they still need space to grow strong.
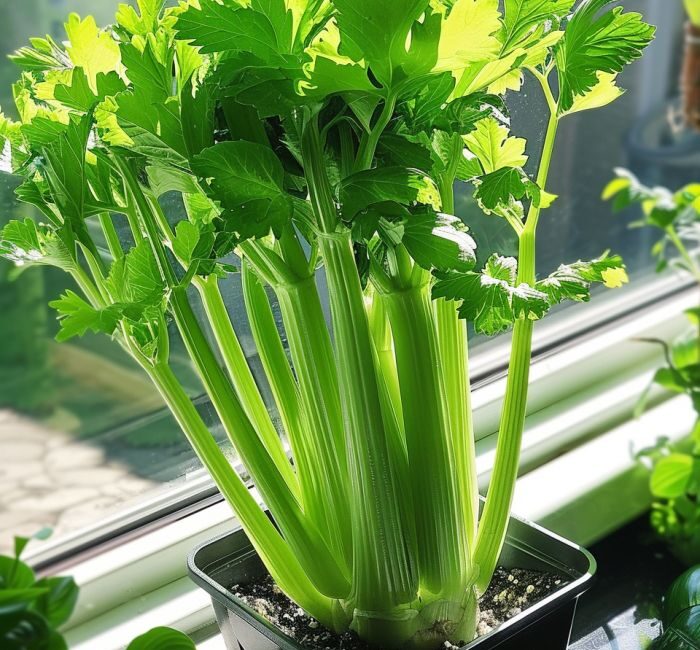
6. Transplanting Celery into the Pot
Once your celery seedlings are large enough to handle (typically around 6 inches tall), it’s time to transplant them into the final pot. Here’s how:
Step 1: Prepare the Pot
Fill your chosen container with the prepared soil mix, leaving about 2 inches of space at the top to allow for watering.
Step 2: Transplant the Seedlings
Gently remove the seedlings from their seed-starting tray and place them in the pot. Space them about 6 inches apart to allow for proper growth. Fill in around the roots with soil and gently press it down to eliminate air pockets.
Step 3: Water Thoroughly
Water the newly transplanted celery thoroughly to settle the soil around the roots. Make sure the water drains out of the pot’s drainage holes.
7. Caring for Celery in Pots
Celery needs consistent care to thrive. Here are some key factors to consider:
Watering:
Celery loves moisture, so keep the soil consistently moist. Water the plant deeply whenever the top inch of soil feels dry. Avoid letting the soil dry out completely, as celery has shallow roots and is prone to wilting.
Temperature:
Celery prefers cool weather, ideally between 55°F and 75°F (13°C and 24°C). If you’re growing celery indoors, make sure the room is well-ventilated and not too warm. If growing outdoors, plant celery in the spring or fall when temperatures are milder.
Fertilizing:
Celery is a heavy feeder, meaning it requires plenty of nutrients to grow well. Use a balanced liquid fertilizer or an organic fertilizer every 2 to 3 weeks during the growing season. Make sure to follow the manufacturer’s instructions for dilution and application.
Sunlight:
Celery requires at least 6 hours of direct sunlight per day. If you’re growing it indoors, place the pot near a sunny window or use grow lights to supplement natural light.
Pruning:
Prune any yellowing or dead leaves to encourage healthy growth. You can also trim the outer stalks of the celery plant as it grows, which will encourage new stalks to form in the center.
8. Harvesting Celery
Celery grows relatively slowly, but with patience, you’ll soon be able to enjoy a continuous harvest. Here’s how to harvest your celery:
Step 1: Wait for the Right Time
Celery is typically ready for harvest in 3 to 4 months. You’ll know it’s ready when the stalks are thick and firm. It’s also important to note that celery grows best when you harvest it regularly to promote new growth.
Step 2: Harvest Outer Stalks First
To harvest celery, simply cut the outer stalks near the base of the plant. Leave the inner stalks to continue growing, and new stalks will eventually replace the ones you cut.
Step 3: Keep It Growing
After you’ve harvested some stalks, continue to care for the plant, and it will keep producing. If you cut the stalks carefully and don’t disturb the plant too much, you can enjoy a never-ending supply of fresh celery.
Conclusion
Growing celery at home in a pot is an incredibly rewarding and simple process when done correctly. By following these step-by-step guidelines, you can enjoy a continuous supply of fresh, home-grown celery that’s perfect for your kitchen. Not only will you have a sustainable source of this versatile vegetable, but you’ll also be able to enjoy its crisp, fresh flavor all year round. With the right care and attention, your celery plants will thrive and provide you with an endless supply of this healthy and delicious vegetable!