Serving Suggestions
This dish is versatile and can be served in multiple ways. Here are some pairing ideas:
- As a Side Dish: It pairs perfectly with grilled meats, roasted chicken, or baked fish.
- As a Main Course: Serve a generous portion with a crisp green salad and a slice of rustic bread.
- In Meal Prep: Make a large batch and divide it into individual containers for an easy lunch throughout the week.
- As Comfort Food: Enjoy it as a standalone meal on cozy evenings, perhaps paired with a bowl of soup or a simple tomato salad.
Nutritional Profile
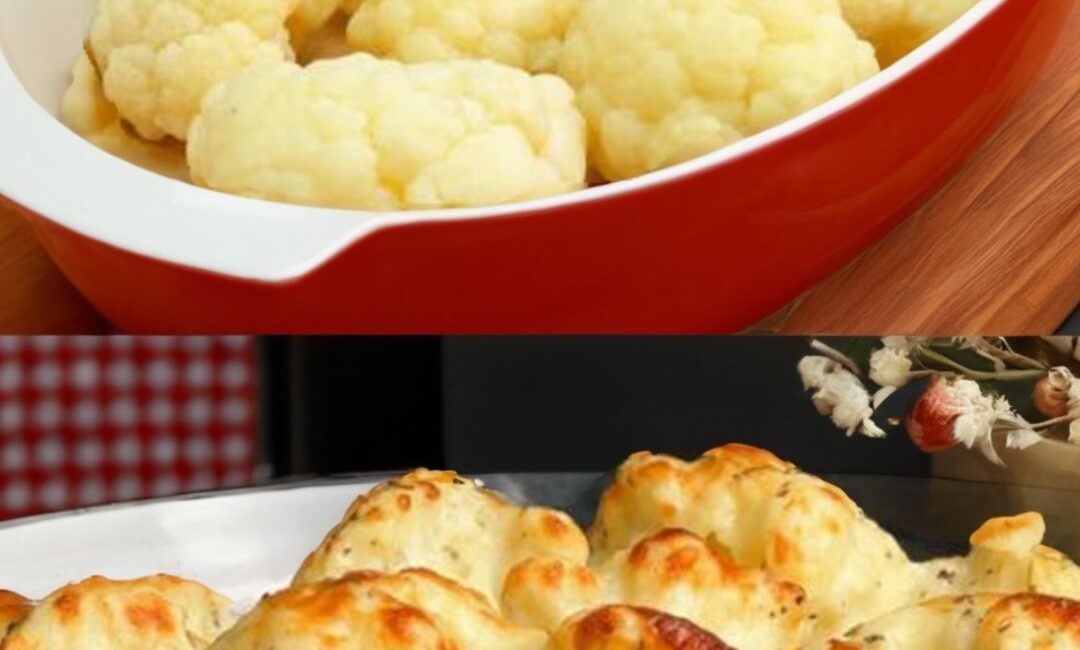
Cheesy baked cauliflower isn’t just tasty—it also offers several nutritional benefits:
- Cauliflower: Rich in vitamin C, vitamin K, and fiber. It’s also low in calories and carbs, making it ideal for light meals.
- Cheese: Provides calcium, protein, and fat-soluble vitamins like A and D.
- Sour Cream and Milk: Offer creaminess and tang while contributing to your daily intake of calcium and probiotics (if using cultured sour cream).
Despite being rich and indulgent, this dish can be adapted to meet specific dietary needs such as gluten-free, vegetarian, or low-carb by adjusting the sauce ingredients.
Storage and Reheating Tips
This casserole stores well and reheats beautifully:
- Refrigerator: Store in an airtight container for up to 4 days.
- Freezer: You can freeze leftovers for up to 3 months. Use a freezer-safe container and thaw overnight in the fridge before reheating.
- Reheating: Warm in a 350°F (175°C) oven until heated through, or microwave individual portions. To restore the crispy top, place under the broiler for a couple of minutes after microwaving.
Homemade Cheese Sauce Tips
To ensure your cheese sauce comes out smooth every time:
- Grate Your Own Cheese: Pre-shredded cheese often contains anti-caking agents that prevent smooth melting. Use a box grater for best results.
- Use Low Heat When Adding Cheese: High heat can cause cheese to separate or become grainy. Lower the heat and add cheese gradually.
- Stir Constantly: This ensures even melting and prevents the sauce from sticking or burning.
Using Leftovers Creatively
If you have leftovers, you can repurpose them into new dishes:
- Cauliflower Gratin Wraps: Scoop leftovers into flatbread or tortilla wraps, add some arugula or lettuce, and roll up for a delicious veggie wrap.
- Cauliflower Quesadillas: Spread the cheesy cauliflower between two tortillas and toast on a skillet until crisp.
- Stuffed Peppers: Use the leftovers to stuff halved bell peppers, top with cheese, and bake until bubbly.
Culinary Tips for Maximum Flavor
- Roasting Is Essential: Always roast the cauliflower first. It adds a nutty flavor and prevents the final dish from becoming watery.
- Layer the Flavors: Season both the cauliflower and the sauce. Salt, pepper, garlic powder, and even a touch of mustard powder or smoked paprika can elevate the taste.
- Cream Cheese Magic: Adding a little cream cheese gives your sauce extra richness and body.
- Cheese Choices Matter: Blend strong-flavored cheese like aged cheddar with milder melting cheeses for the perfect balance.
Making It Ahead of Time
To save time, you can prepare the dish in advance:
- Assemble Ahead: Roast the cauliflower and prepare the cheese sauce. Combine them in the baking dish, cover with foil, and refrigerate for up to 24 hours before baking.
- Bake From Cold: Add an extra 5–10 minutes to the baking time if starting from cold.
- Freeze Before Baking: For longer storage, assemble the entire dish, wrap tightly, and freeze. Thaw before baking or bake from frozen with additional cooking time.
Pages: 1 2