6. Safety, Risks & Pitfalls to Avoid
Because you are deliberately working with heat and water inside a powered appliance, risks are real. Here’s what to watch out for:
- Never use metal tools to chip ice—they can puncture plastic liners, damage coils or internal systems.
- Avoid boiling water directly against surfaces—superheated water can deform plastics or cause cracking.
- Do not saturate electrical components or exposed wiring.
- Never let melted water drip onto power cords, plugs, or outlet areas.
- Be cautious with hair dryers or heaters—water + electricity is always risky.
- Don’t force frozen drawers or parts out—they may crack if ice is still binding them.
- Move slowly and patiently—don’t rush by applying heat too aggressively or skipping steps.
If at any point you feel uncertain or discover damage, halt and revert to safer methods (e.g. partially powering down or letting the ice melt naturally).
7. Why This Trick Works — Under the Hood
This method succeeds thanks to several synergistic physical principles:
- Latent heat of condensation: When steam contacts cold ice, it condenses, releasing energy that helps melt the interface.
- Thermal diffusion: Warm areas gradually penetrate deeper into ice, loosening connections to surfaces.
- Controlled softening: Instead of brute force, you weaken the bond before applying mechanical leverage.
- Gradual thaw: Because the freezer remains powered, cold surfaces don’t saturate with external heat, so thawing is more controlled.
- Cyclic refresh: By repeating steam and scraping, you avoid shocking the system and let the thaw proceed gradually and safely.
Combining these principles intelligently is what turns a simple trick into a powerful, low-risk solution.
8. Preventive Strategies: Keep That Ice from Returning
A defrost is good—but prevention is better. After you’ve cleared the ice, adopt these habits and adjustments:
8.1 Periodic Light Defrosting
Perform a mini‑treatment every few weeks (steam + quick wipe) before thick ice accumulates.
8.2 Maintain Seal Integrity
Check and clean the door gasket regularly. Replace it if compressed, cracked, or leaking. Use the “dollar‑bill test”—slide a paper bill around the seal; if it slips freely, the seal may be weak.
8.3 Minimize Door Open Time
Whenever possible, reduce how long the door remains open and avoid frequent opening. Use trays or organization to access items quickly.
8.4 Pre‑cool Food Before Freezing
Allow food to cool to near room temperature before placing it inside, so less internal moisture is released.
8.5 Leave Some Air Space
Don’t overfill compartments. Leave gaps for airflow so cold air circulates and moisture removal is efficient.
8.6 Use Dry Containers or Absorbents
Line trays or drawers with silica packs or moisture-absorbing materials (safe for food zones) to capture stray humidity.
8.7 Monitor Interior Humidity
If your environment is very humid (kitchens, laundry areas), consider placing a dehumidifier or ensure good room ventilation to reduce ambient moisture entering when the door is open.
8.8 Regular Maintenance of Auto‑Defrost Components (in applicable models)
In frost-free freezers with auto-defrost, check that the defrost heater, thermostat, and timer system are functioning. A failure here can cause rapid ice accumulation.
By combining these habits with periodic “quick steaming” sessions, you can keep your freezer nearly frostless indefinitely.
9. Real Scenarios and Tweaks
To make this trick feel more practical, here are examples and tweaks for various freezer setups and challenges:
9.1 Upright Freezer with Thick Ice on the Ceiling
If ice accumulates mostly on the upper walls or ceiling:
- Place a hot water bowl on a top shelf at ceiling level so steam rises up.
- Use a damp hot towel pressed against the ceiling ice for focused melt.
- Use a fan to gently push warm air upward.
- Scrape downward—ice should fall onto the lower shelves where you can collect it.
9.2 Chest-Style Freezer (Horizontal Lid)
You can’t trap steam as easily, so:
- Use multiple smaller bowls distributed across the bottom.
- Use a fan directed horizontally across the top edges of the ice.
- Cycle hot water refresh often.
- Be extra cautious of water puddling at the base—collect with trays.
9.3 Drawer or Compartment Freezers Inside Fridge Units
These are trickier because they often lack space for bowls. Instead:
- Use long shallow trays of hot water near affected zones.
- Use hot damp towels bridging the ice.
- Use a spray bottle to mist small areas.
- Work in segments—open one drawer at a time, treat, then move to the next.
9.4 Very Thick Ice or Long Neglect
If ice is very thick:
- Break the process into stages: treat half the ice region first, then the other half.
- Use more containers of hot water to maintain steam.
- Be more patient (allow longer softening time).
- Ensure you have plenty of towels, buckets, and paths for water to drain.
9.5 Freezers in Tight or Inaccessible Spaces
If you can’t reach a plug or outlet:
- Use portable kettles or insulated jugs.
- Work from front to back, using extension hoses or flexible containers.
- If needed, switch off the circuit breaker for that outlet while keeping the unit powered (carefully).
10. Troubleshooting: Common Issues and Solutions
Even a well-planned defrost can hit snags. Here are likely problems and how to address them.
| Problem | Likely Cause | Solution |
|---|---|---|
| Ice not loosening | Steam weak or not reaching ice | Increase number of hot water containers, reposition them, repeat cycles |
| Melted water refreezes | Incomplete drying or cold rebound | Wipe interior thoroughly, finish defrost quickly, temperature control set properly |
| Water flooding floor | Inadequate towels/trays | Lay more towels, use deeper trays, direct water away from power sources |
| Cooling fighting steam | Freezer still in strong cooling mode | Reduce cooling setting or defrost mode before steam start |
| Thick zones not melting | Limited heat penetration | Use hot towel or longer steaming cycles on those zones |
| Plastic warping or cracking | Water too hot or direct contact | Use water below boiling point, avoid contact with sensitive parts |
| Ice returns quickly | Door seal or humidity issue | Check gasket, reduce door open time, control ambient moisture |
If after repeated attempts ice persists or you detect damage, it’s safer to revert to a full power‑off defrost or call a technician.
11. Summary: Why This Trick Is a Game Changer
What makes this method “ingenious” is its balance of practicality, minimal disruption, and effectiveness. You get:
- Ice removal without shutting off power, so frozen goods aren’t compromised
- Faster recovery of internal temperature
- Lower risk to food safety
- Avoidance of chemical defrost agents
- A method you can reuse anytime frost builds
By combining the physics of steam, latent heat, and controlled scraping, you beat ice on its own terms rather than waging a brute force war.
Conclusion: Mastering Defrost Without the Headache
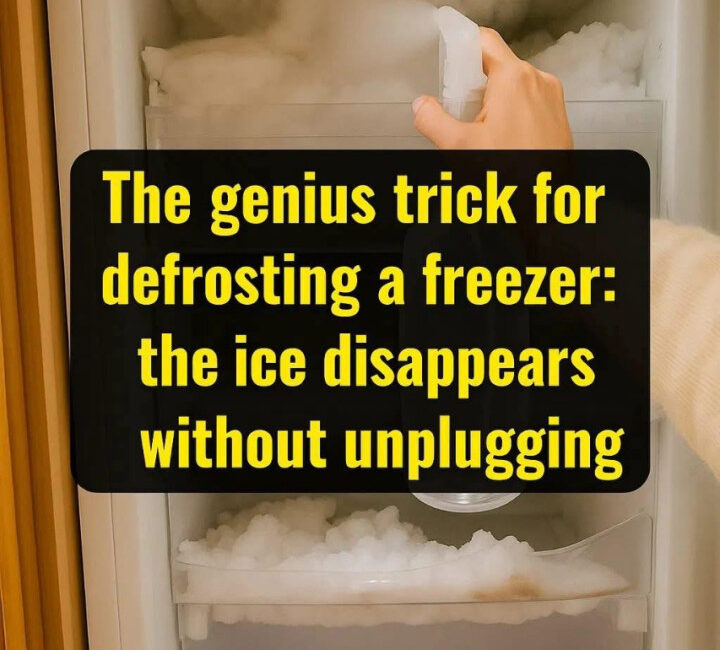
If you’ve ever dreaded the chore of defrosting, relocating frozen food, and dealing with melting puddles, this steam-based, “no-unplug” method gives you a smarter path forward. It transforms what used to be a laborious, time-consuming, and potentially risky job into a predictable, manageable, and surprisingly elegant process.
Once you’ve successfully executed one full session, you’ll recognize how the method scales: lighter frosting, routine micro-defrosting, periodic checks, and a well-maintained freezer system. Over time you may never need a full, power-down defrost again.


