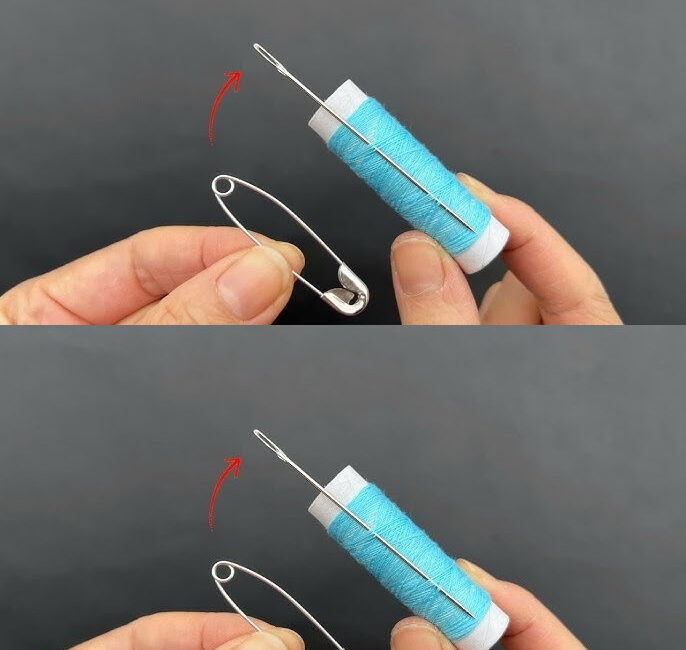
Threading a needle is one of those deceptively simple tasks that can cause frustration for both novice and seasoned sewers alike. At first glance, it seems straightforward: simply pass the thread through the needle’s eye and start sewing. However, anyone who has attempted to thread a fine needle or a thick, bulky thread knows that it can be a surprisingly intricate and fiddly process.
For centuries, sewing has been more than a craft—it has been a vital skill passed down from one generation to the next. Our grandmothers, who often spent countless hours hand-stitching garments, quilts, and household items, developed an extraordinary toolkit of techniques and practical hacks to make sewing more efficient. Among these is the art of threading a needle, a seemingly small task with immense impact on the sewing experience.
A seamstress with sixty years of experience shared some of her most cherished secrets, revealing simple yet incredibly effective methods to make threading any needle effortless. Whether you’re handling delicate embroidery needles or robust upholstery threads, these strategies can transform a frustrating chore into a smooth and satisfying process.
In this article, we will explore these traditional techniques in depth, providing step-by-step instructions, practical variations, and expert insights. We will also delve into the reasons why threading a needle can be challenging and how small adjustments can drastically improve precision, efficiency, and comfort during sewing.
Why Threading a Needle Can Be Tricky
Threading a needle may appear easy at first glance, but several factors make it surprisingly challenging. Understanding these factors is the first step toward mastering the process.
1. Needle Size and Type
Needles come in a wide variety of shapes and sizes, each tailored to specific sewing tasks. Embroidery needles, for example, have a longer eye to accommodate multiple threads, while quilting needles have short, narrow eyes for precision. Fine needles, such as those used in silk or delicate fabrics, have tiny eyes that are difficult to see and easy to miss.
Conversely, needles designed for thick threads or heavy fabrics often have a small but reinforced eye, which can make threading a coarse or slippery thread tricky. Understanding the type of needle you are using is essential to selecting the right threading technique.
2. Thread Characteristics
The characteristics of the thread also play a significant role. Fine threads, such as silk or polyester, tend to fray easily and slip out of the needle’s eye during handling. Thick or textured threads, on the other hand, may be stiff or bulky, making it difficult to pass them through small needle eyes.
3. Environmental and Physical Factors
Lighting, eyesight, and hand stability are often overlooked contributors to threading difficulty. Poor lighting can obscure the needle’s eye, while minor hand tremors or shaky fingers can make precision threading nearly impossible. Moisture and static electricity can also affect how thread behaves, causing it to bend, curl, or cling unexpectedly.
Given these challenges, it’s no wonder that many people find threading a needle frustrating. Fortunately, the techniques developed and refined by experienced seamstresses provide practical solutions to these everyday problems.
Timeless Techniques to Thread a Needle with Ease
The following methods were shared by a seamstress with six decades of experience. Each approach offers a clever, resourceful way to overcome the challenges of threading different types of needles and threads. These techniques are practical, inexpensive, and can be executed with common household items.
1. The Toothbrush Method
The toothbrush method is an ingenious way to guide the thread into the needle’s eye, especially when dealing with fine or slippery threads.
Step-by-Step Instructions:
- Take an old toothbrush with soft bristles.
- Stretch the thread across the bristles, holding it taut.
- Hold the needle with the eye facing the bristle channel.
- Gently press the needle into the thread on the toothbrush.
The bristles create a tiny channel that holds the thread in place, allowing it to slip effortlessly through the needle’s eye. This method is particularly useful for delicate threads that tend to fray or split when handled directly.
Why It Works:
The toothbrush’s bristles stabilize the thread and provide a small guiding surface that prevents fraying and bending. It also helps maintain tension, making the threading process more controlled and precise.
2. Empty Blister Pack Trick
Household items can often double as sewing aids. One surprising example is the use of an empty tablet blister pack.
Step-by-Step Instructions:
- Take an empty blister pack and cut a narrow strip from it.
- Cut a tiny slit along one edge of the strip, leaving a pointed tip.
- Place the end of the thread into the slit.
- Push the pointed tip of the strip through the needle’s eye, carrying the thread along.
Why It Works:
The slit in the blister pack acts as a temporary holder for the thread, ensuring that it remains aligned and straight as it passes through the needle’s eye. This method reduces frustration when working with thick or textured threads that are otherwise difficult to control.
3. Swab Tube Technique
Another creative household solution involves using a cotton swab. This method is particularly effective for very fine threads.
Step-by-Step Instructions:
- Cut off the cotton ends of a swab, leaving a small plastic tube.
- Thread a thin wire, a broom bristle, or similar rigid material through the tube to form a tiny hook.
- Use the hook to pull the thread through the needle’s eye.
Why It Works:
The plastic tube stabilizes the thread, while the hook provides a precise guide to pull it through the needle. This technique works exceptionally well with extremely fine or slippery threads that tend to fray when manipulated by hand.
4. Moistening the Thread
Moistening the thread is perhaps the most well-known and widely used technique. It is simple but highly effective.
Step-by-Step Instructions:
- Lightly moisten the end of the thread with water or saliva.
- Flatten the end between your fingers.
- Pass the thread through the needle’s eye.
Why It Works:
Moistening the thread binds the fibers together, preventing fraying and splitting. It also adds a slight rigidity to the thread, making it easier to guide through small needle eyes. This method is especially effective for delicate or natural fibers such as cotton, silk, or linen.
5. Paper or Fabric Folding Method
Click page 2 for more