Place the saucepan over low to medium-low heat. The mixture should never boil aggressively. Gentle simmering is ideal. You’ll see small bubbles forming around the edges, not a rolling boil.
Stir occasionally, especially along the bottom and sides of the pan. This prevents sticking and ensures even reduction.
Over time, the liquid level will drop. The color may shift slightly toward a warm cream tone. The texture will thicken gradually, not suddenly.
The condensed milk is ready when it coats the back of a spoon and leaves a clean line when you run your finger through it. Remember that it will thicken more as it cools.
Remove from heat and allow it to cool completely before transferring to a clean container.
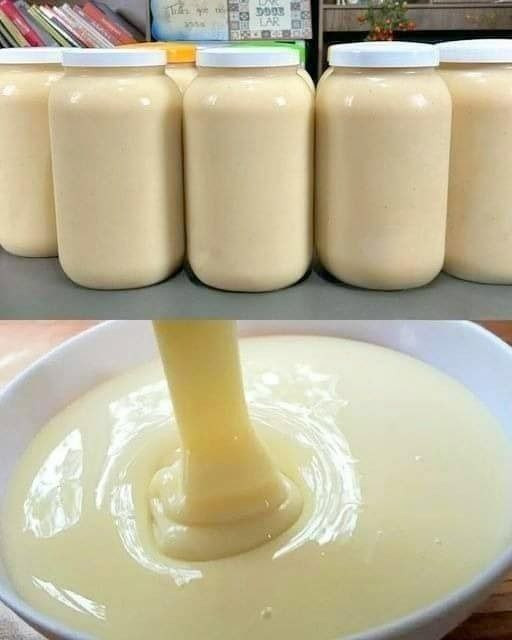
TEXTURE, COLOR, AND CONSISTENCY: WHAT TO EXPECT
Freshly made condensed milk may seem slightly thinner than canned versions while still warm. This is normal. Cooling allows milk proteins and sugars to fully set.
If it becomes too thick, a small splash of warm milk can loosen it. If it is too thin, it can be gently reduced further.
Homemade condensed milk tends to have a softer sweetness and a more natural dairy aroma. Its color may vary depending on cooking time and sugar type, ranging from pale ivory to light caramel.
HOW LONG IT LASTS AND HOW TO STORE IT
Because sugar acts as a preservative, homemade condensed milk keeps well when stored properly.
Once cooled, store it in an airtight glass jar in the refrigerator. It typically lasts up to one week, sometimes longer if handled cleanly and kept cold.
Always use a clean spoon when scooping to avoid contamination.
For longer storage, it can be frozen in small portions. Freezing may slightly alter texture, but it remains perfectly usable for baking and cooking.
HOW TO USE HOMEMADE CONDENSED MILK
This condensed milk can replace store-bought versions in nearly any recipe.
It works beautifully in:
• Desserts and pastries
• Cheesecakes and custards
• Ice cream bases
• Coffee and tea
• No-bake sweets
• Sauces and fillings
Its smoother flavor often improves recipes rather than just matching them.
Because sweetness is customizable, it can also be adapted for recipes that require less sugar, reducing the need for further adjustments.
COMMON MISTAKES AND HOW TO AVOID THEM
The most frequent mistake is using high heat. This leads to burnt milk and unpleasant flavor.
Another common issue is not stirring enough. Milk solids can stick to the pan bottom and scorch.
Over-reducing can also happen. If it becomes too thick, remember that it continues to thicken as it cools.
Lastly, impatience ruins texture. Condensed milk is not fast food. It is slow food.
WHY THIS RECIPE HAS STOOD THE TEST OF TIME
Long before canned milk existed, people condensed milk at home out of necessity. What began as preservation became tradition. What was practical became beloved.
This recipe survived because it works.
It requires no special tools. No advanced skills. No rare ingredients. Just understanding and care.
In many ways, making condensed milk at home reconnects you with a quieter, more intentional style of cooking—one where time is an ingredient, not an inconvenience.
A FINAL THOUGHT
Homemade 2-ingredient condensed milk is more than a budget trick or a kitchen hack. It is a reminder that many “special” foods are simply everyday ingredients treated with patience.
Once you make it yourself, opening a can feels unnecessary.
And once you taste it, you’ll understand why simplicity, when done right, is never boring.