A kitchen sink (and disposal) often gets clogged due to buildup of grease, food scraps, fat, soap scum, coffee grounds, vegetable fibers, etc. Over time, these materials accumulate in the drain pipe, in the garbage disposal chamber (if present), and in the P‑trap (the curved pipe under the sink).
Many people reach for harsh chemical drain cleaners, which might work but can damage pipes, seals, or the environment. Also, for mild or early clogs, a natural remedy can often restore flow with less risk and cost.
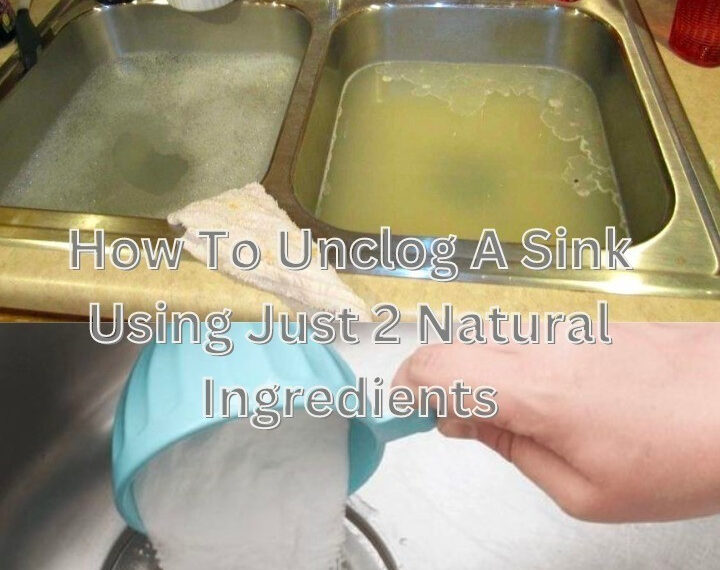
One extremely popular, simple, DIY method uses only two common ingredients: baking soda (sodium bicarbonate) and white vinegar. Let’s dig into exactly how and why this works, and how to do it most effectively — especially if your disposal is involved and the clog is in or near it.
The Science Behind Baking Soda + Vinegar
Understanding what’s happening helps you apply the method more wisely.
- Baking soda is a base (alkaline). It can help loosen organic matter (grease, soap scum) and acts as a mild abrasive.
- White vinegar is acidic (acetic acid). When vinegar contacts baking soda, a chemical reaction occurs: you get bubbling/fizzing (carbon dioxide gas forming), plus a temporary shift in pH. The fizz helps physically dislodge or loosen debris stuck in the pipes.
- After the reaction, flushing with hot water helps wash away loosened material, grease, and any residual mixture.
This reaction isn’t typically strong enough to dissolve hardened blockages (like mineral scale, large fat balls, or very thick grease), but for many common clogs (grease + food bits + soap film) it often works well, especially if repeated or used with hot water flush.
Materials You Will Need
To try this method yourself, you’ll need:
- Baking soda (ordinary, food‑grade)
- White vinegar (standard distilled vinegar, ~5% acetic acid)
- Hot water (ideally boiling / near‑boiling water, unless you have sensitive pipe materials)
- A kettle or pot to boil water
- A rag, stopper, or drain plug
- Something to remove standing water if there is any (cup, small bowl)
- Possibly a flashlight to inspect disposal or P‑trap if visible
Optional tools that help:
- Rubber gloves
- Bucket (for catching water if needed)
- Screwdriver/wrench if you need to remove the P‑trap
- Tongs or small hook for fishing out visible debris
Step‑by‑Step Natural Unclogging Process
Here is a detailed, optimized procedure for unclogging a kitchen sink + disposal using just baking soda + vinegar. Use this sequence carefully to maximize effectiveness.
Step 1: Assess & Prepare
- Turn off disposal (if you have one). Always make sure it’s powered off before putting anything in it or near the drain, for safety.
- Remove standing water from the sink. If the sink basin is filled, scoop out as much as possible so the mixture can directly reach the drainpipe.
- Remove debris from top of the drain (food bits, visible matter, strainer or drain grid) so nothing blocks the entrance completely.
Step 2: Apply Baking Soda
- Measure about ½ to 1 cup of baking soda, depending on sink size and how clogged it seems.
- Pour it directly into the drain opening. Use a funnel or spoon if needed to help it enter.
- If the clog is near the disposal, you can try pushing some baking soda into the disposal opening (power off), but be cautious to not drop large granules that might get stuck.
Step 3: Add White Vinegar
- Quickly follow the baking soda with about ½ to 1 cup of white vinegar. The standard proportion is roughly equal parts, or a bit more vinegar depending on how strong you want the reaction.
- As soon as vinegar hits the baking soda, you’ll see fizzing and bubbling. This action helps to loosen gunk clinging to the pipe walls.
Step 4: Seal and Wait
- Plug the drain with a stopper, or cover with a rag—but do this quickly so the fizzing is contained and forced into the pipe rather than escaping.
- Let the reaction sit undisturbed for about 20–30 minutes. If the clog is more stubborn, you can let it sit longer (up to an hour), but don’t leave it forever because vinegar is acidic, and extended contact might affect certain pipe materials.
Step 5: Flush With Hot Water
- After waiting, remove the plug/rag.
- Boil or heat several liters of water (kettle or pot). Let it reach a near‑boil, then carefully pour it down the drain. This hot water helps to melt grease, flush away debris, and clear out any remnants of the reaction.
- If you have a garbage disposal, after water is poured, you may run the disposal for a few seconds with cold water to help move material through.
Step 6: Check Drainage & Repeat if Needed
- Turn on the faucet and test drainage. If water flows freely, success. If it’s still slow, repeat the process once more. Sometimes two cycles are enough.
- If repeated natural treatment fails, then consider mechanical tools (plunger, drain snake) or checking the P‑trap.
Variations & Enhancements for Tough Clogs
Here are some tweaks, additions, or modifications if the clog is tougher or the sink/disposal is especially finicky.
- Use hot but not boiling water instead of boiling if you have PVC pipes or sensitive materials (very hot water can deform or stress plastic pipes).
- For grease blockages, adding a few drops of dish soap before or after the vinegar flush helps cut grease more effectively. The soap helps emulsify oily residues.
- If you have coarse salt (non‑iodized table salt or rock salt), you can use baking soda + salt + vinegar in some cases; the salt adds mild abrasiveness and helps scrub inside the pipes.
- Use multiple cycles: small amount of baking soda + vinegar, wait, hot water flush, then repeat. Gradual clearing can sometimes work when a single big treatment doesn’t.
- If your garbage disposal has reset / overload switch, make sure it’s functioning properly. A partial jam or stuck impeller can reduce water flow even after the clog is cleared.
What Happens if You Have a Garbage Disposal Unit
If your sink has a disposal, there are some extra things to watch out for, and some extra steps to make sure the natural remedy works well.
- Always turn off power to the disposal before doing any treatment near or into it.
- After the baking soda + vinegar + hot water flush, once things are cleared, you can run the disposal briefly with cold water to help liquefy and move debris. Cold water helps solidify greases so they are chopped up rather than smeared.
- If the disposal seems jammed, check visible items in the mouth of the disposal (with power off). Use tongs or pliers to remove any foreign objects.
- Never put very fibrous food (such as onion skin, corn husks, banana peels) or hard bones into the disposal; these are common causes of clogs and jams.
Safety Considerations & Pipe Material Compatibility
If you have a finicky sink or disposal, use caution so you don’t damage pipework, seals, or finishes.
- Pipe material matters: Copper, brass, PVC, cast iron, etc. Vinegar is acidic; overuse (frequent, long contact) can corrode metal pipes. Hot/boiling water can damage PVC or plastic pipes if poured without cooling a bit first.
- Seals, gaskets, rubber parts: The acid from vinegar can degrade rubber over time if exposure is frequent. Be cautious especially at the disposal gasket or the drain flange seals.
- Hot water safety: Boiling water can scald skin, crack ceramic sinks if poured abruptly into cold porcelain, damage finishes. Pour carefully, allow hot water to acclimate surfaces.
- Avoid mixing with harsh chemicals (like bleach) while doing this natural method; chemical interactions can produce fumes.
Common Mistakes & How to Avoid Them
Even with a simple method, people often make errors that reduce effectiveness or cause more issues. Here are errors and how to avoid:
| Mistake | Why It Fails / Causes Issues | How to Avoid |
|---|---|---|
| Using too much baking soda or vinegar at once | Overflow, waste, mess; sometimes the mix gets pushed past the clog without clearing it | Use moderate, measured amounts; ensure the quantity reaches the clog but isn’t excessive |
| Not removing standing water first | The reaction gets diluted; fizz doesn’t engage well | Scoop out water, or let sink drain somewhat before applying |
| Pouring cool water immediately after vinegar instead of hot water | Doesn’t flush; may leave residue or partially dissolved clog | Wait the full sit time, then use hot (or near boiling) water for the flush |
| Having plugs or covers that don’t seal well | The reaction pressure escapes via side holes instead of pushing into clog | Use a stopper or rag that covers drain well to trap the reaction |
| Doing this too often (daily) on metal pipes | Repeated acid exposure may degrade pipe walls or seals | Limit use to when clogs occur; use maintenance sparingly (monthly or preventive) |
| Expecting this method for large or deep blockages | Method is mild; big blockages (solidified grease, mineral scale deep in pipe, foreign objects) may resist | Know when to escalate to mechanical tools or professional help |
When This Method Works Best (And When It Isn’t Enough)
This natural, two‑ingredient technique tends to be most effective in scenarios like:
- Mild to moderate clogs caused by grease buildup, soap scum, food debris, small bits stuck in disposal.
- Slow draining rather than completely blocked.
- Routine maintenance or preventative unclogging.
Click page 2 for more